Installing Hodor Awning
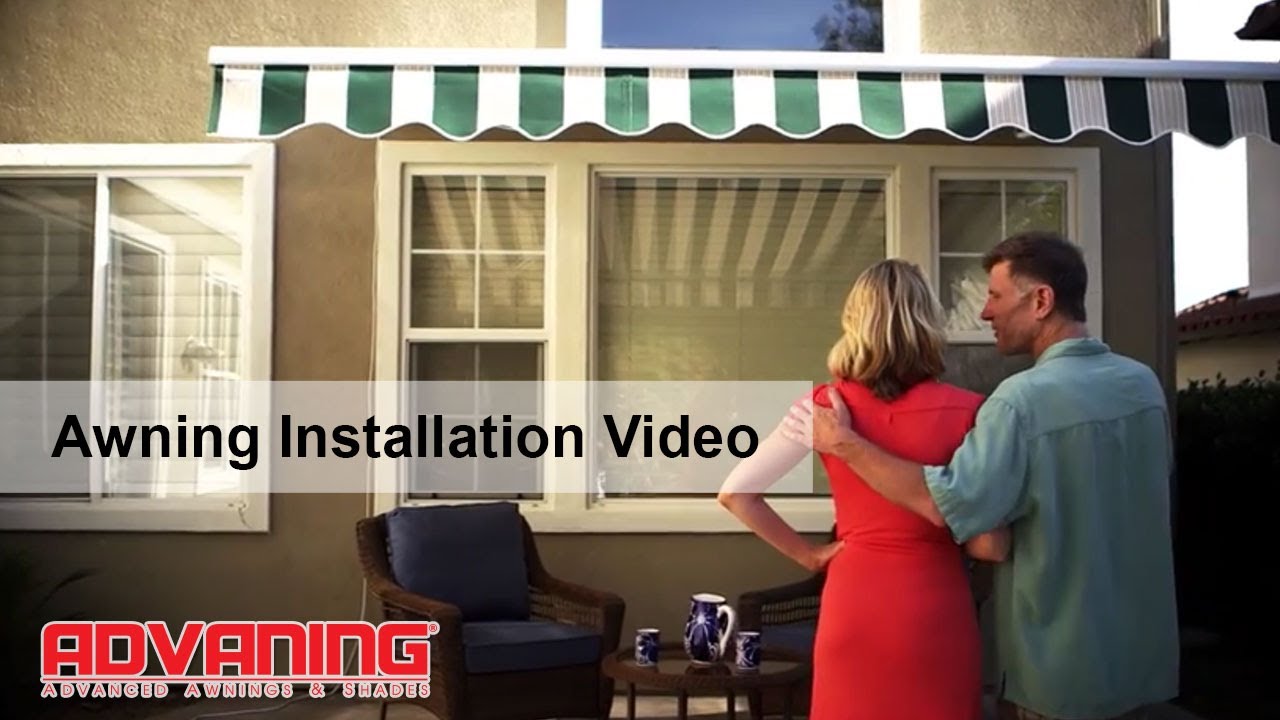
Advaning Awning How To Install A Retractable Awning Youtube

Screen Porch Kits Install On Awnings To Make A Porch Enclosure Screen Porch Kits Screened In Porch Diy Porch Kits

Enhance The Usability Of Your Porch By Installing Custom Fabric Awnings Awnings Create An Extra Overhang Adding To Your Usab Porch Awning Awning Fabric Awning

Shade Awnings Easily Installed By You Love Mine Windows Exterior Outdoor Awnings Window Awnings

Waterfall Style Residential Entrance Awning Door Hood Entrance Awnings Diy Awning Entrance

Amazon Com Diensweek Patio Awning Retractable Manual Commercial Grade Fully Assembled Quality 100 280g Ployester Window Door Sunshade Deck Canopy Balcony P100 Series 10 X8 Navy Blue Garden Outdoor

Retractable awning installation video marygrove awnings duration.
Installing hodor awning.

Milanese Remodeling Installs Tv Studio For Qvc Home Shopping Network Home Shopping Network Retractable Awning Remodel

Diensweek 12 X10 Patio Awning Retractable Manual Commercial Grade Fu Hoderglobe

Looking For Non Retractable Awning Installation Services Service Omaha Specializes In Non Retractable Awni Awning Installation Patio Awning Retractable Awning

Patio Awnings Outdoor Awnings Caribbean Blinds Patio Awning Outdoor Awnings Patio

Kathy Bostic We Could Do Something Similar To This For You Small Patio Space Some Dowel Rods A Few Yards Of Fabric Some Pergola Pergola Patio Deck Shade

Replacing A Retractable Awning S Fabric Removal Installation Retractable Awning Diy Awning Fabric Awning

Brandywine Hospital Installed This Awning Over A High Traffic Entrance To Protect Patients And Employees As They Wait To Enter The Awning Entrance Porch Awning

How Commercial Awnings Can Increase Your Property Value In Tennessee Property Values Commercial Architecture Aluminum Awnings

Sloped Trellis Awning Cover Recently Installed In Irvine California Stonegate Community Maybe You Have Seen Our Installa Patio Patio Awning Patio Inspiration

Sun Shade Sail Awnings Shade Sail Sun Sail Shade Backyard Decor

Protect A South Facing Enclosed Porch By Installing Porch Awnings To Block The Sun Before It Even Passes Through The Wi Residential Awnings Awning Porch Awning

Ac1000 Pan Type Window And Door Awning Door Awnings Aluminum Awnings Awning Over Door

Markilux Retractable Free Standing Awning Installation Patio Outdoor Awnings Pergola

Stationary Canopy On Amish Home Kreider S Canvas Service Inc Amish House Canopy Deck Canopy

Patio Awnings Outdoor Awnings Caribbean Blinds Patio Awning Outdoor Awnings Awning Installation

How To Build Your Own All Weather Awning Ehow Diy Awning Outdoor Awnings Window Awnings

Outdoor Kitchen Canopy Cover Kreider S Canvas Service Inc Kitchen Canopy Canopy Cover Outdoor Kitchen
Beautiful Hand Wrought Scrolls And A Graceful Swag Effect Combine To Make A Dramatic Statement Includes Awning Mo Awning Over Door Window Awnings Diy Awning
1

Residential Metal Awning That We Fabricated And Installed If You Do Not Know What Kind Of Design You Want Jus Residential Awnings Metal Awning House Exterior

6 Reasons Why You Should Install Awning Outdoor Awnings Retractable Awning Patio Awning

Easy Installation Using The Ezy Fix Clip System With Taut Drum Like And Professional Finish The Ezy Way To Diy Patio Shade Sails Diy Shade Sail Installation

Replacing 2 Awnings With 1 Extra Large Retractable Pergola Milanese Remodeling Retractable Pergola Pergola Backyard Pergola

Diy Shade Sail Installation Simple Tutorial For Sun Shade Sails Shade Sail Installation Backyard Shade Patio Shade Diy

Adjustable Aluminium Louvre Patio Awnings Patio Pavers Design Building A Patio Backyard Patio

Basement Entrance Stair Canopy For A Church Kreider S Canvas Service Inc Basement Entrance Stairs Canopy Entrance Awnings

Instant Awning Door Canopy Shield Protector Includes Hanging Hardware For Easy Installation Black Walmart Com Outdoor Awnings Outdoor Window Awnings Diy Awning

Three Black Frame Black Fabric Side By Side Folding Lateral Arm Awnings With Fire Retardant Fabric Ch Retractable Awning Pergola Outdoor Living Patio Awning

Milanese Remodeling Installs Tv Studio For Qvc Home Shopping Network Installation Retractable Awning Pergola

Retractable Awning Retractable Motorized Power Screen Installed On Front Door For Sun Protection Front Door Patio Retractable Awning

Commercial Wraparound Facade Awning With Lettering Installed By Kreider S Canvas Service Inc Of Lancaster Pa Shop Awning Awning Facade

Install Beautiful Shade By Your Pool Deck Awning Outdoor Living Stationary Canopy Lancaster Pa Sunbrella Fabric Canopy Patio Patio Area

Steel Pergola With Canopy Installation Placement Details For Steel Pergola With Canopy Awning Canopy Designs Pergola Canopy Pergola Garden Steel Pergola

Wall Mounted Eastern Retractable Awning Kreider S Canvas Service Inc Retractable Awning Awning Wall Mount

Welcome To Alpha Canvas Patio Pictures Backyard Patio Awning

Truck Camper Awning How To Install A Rear Awning For Truck Camping Take The Truck In 2020 Camper Awnings Truck Camper Truck Camping

Black Sunbrella Fabric Awnings Installed On La Tolteca Restaurant By Kreider S Canvas Fabric Awning House Styles Canvas Awnings

Fancy Aluminum Awnings Aluminum Awnings Awning Aluminum Window Awnings

Copper Door Awning Door Awnings Garage Door Design Copper Awning

Navy Blue Sunbrella Fabric Porch Awnings Fabricated And Installed By Kreiders Canvas Of Lancaster County Pa Residential Awnings Porch Awning Aluminum Awnings

Installs Tv Studio For Qvc Home Shopping Network Remodel Home Shopping Network Awning

Entrance Canopy Over Stairs On A Commercial Building Kreider S Canvas Service Inc Entrance Outdoor Stairs Building

Manufactured Home Awnings Door Window Retractable Manual House Awnings Pergola Plans Retractable Awning
Https Encrypted Tbn0 Gstatic Com Images Q Tbn 3aand9gcqc46dbddc03q2eonukcjizisolbqvnuguajkmohpcwk Goecf Usqp Cau
Source : pinterest.com
